How to Sync On-premise AD with Windows Azure AD using Azure AD Sync tool
Prerequisites
Before syncing the on-premise AD with Azure AD, let’s warm up with the
basic concepts involved with this topic. Let’s start with Azure AD; it
is a service that provides identity and access management capabilities
in the cloud. Azure AD can be integrated with existing on-premise AD for
providing single sign-on functionality for their users to access the
cloud applications. So it is essential for organizations to keep the
identities in both on-premise AD and Azure AD to be in sync. To solve
this sync requirement, we have Azure Active Directory Sync tool, which
provides one-way synchronization from on-premise AD to Azure AD.
- Windows Server 2008R2 SP1 or Higher
- Only 64 bit version supported
- .Net framework 3.5 SP1 and .net framework 4.0
- It should not be installed on the DC.
Test Lab Environment:
- Active subscription for Azure Active Directory
- On-premise AD server (Windows Server 2012)
- Azure Active Directory Sync Tool
Steps
This article includes the following tasks,
Create Azure AD and Activate Azure AD Sync
Download and Install Azure AD Sync tool in on-premise
AD
Configure Azure AD Sync tool in on-premise AD
Testing Sync between on-premise AD and Azure AD
Create Azure AD and Activate Azure AD Sync
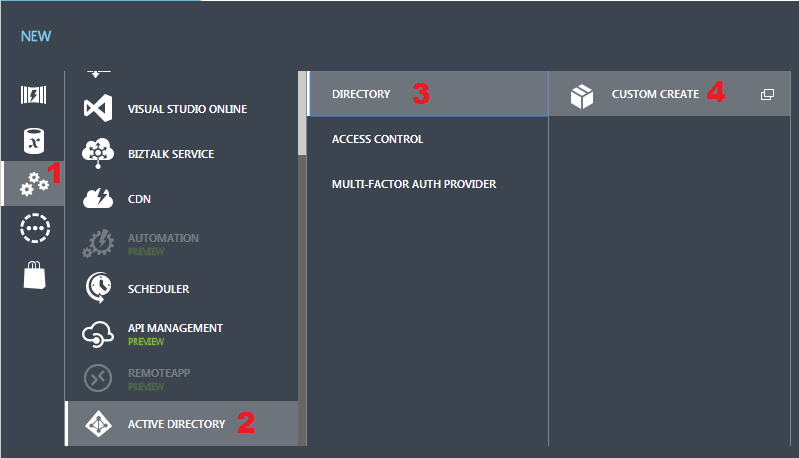
- Login to windows azure management console, from the left hand bottom
portion of the menu click “New”. - Now a new page opens, in which navigate to NEW > APP SERVICES >
ACTIVE DIRECTORY > DIRECTORY and click CUSTOM CREATE as shown
below,
- Now in the Azure AD creation page provide the values as shown in the
below screenshot,
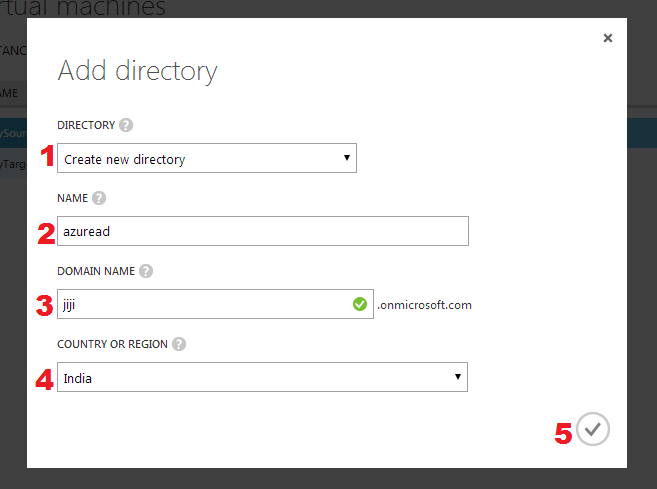
- Now Azure AD has been successfully created.
NOTE: By default the domain name will additionally include
.onmicrosoft.com. Here, I have specified jiji for domain name, so the
complete domain name will be jiji.onmicrosoft.com.
- To activate the Azure AD Sync for the created AD, from the left pane
select Active Directory, then in the Active Directory page, click
the Azure AD and select the DIRECTORY INTEGRATION menu. Then click
ACTIVATED and finally click SAVE to confirm the changes.
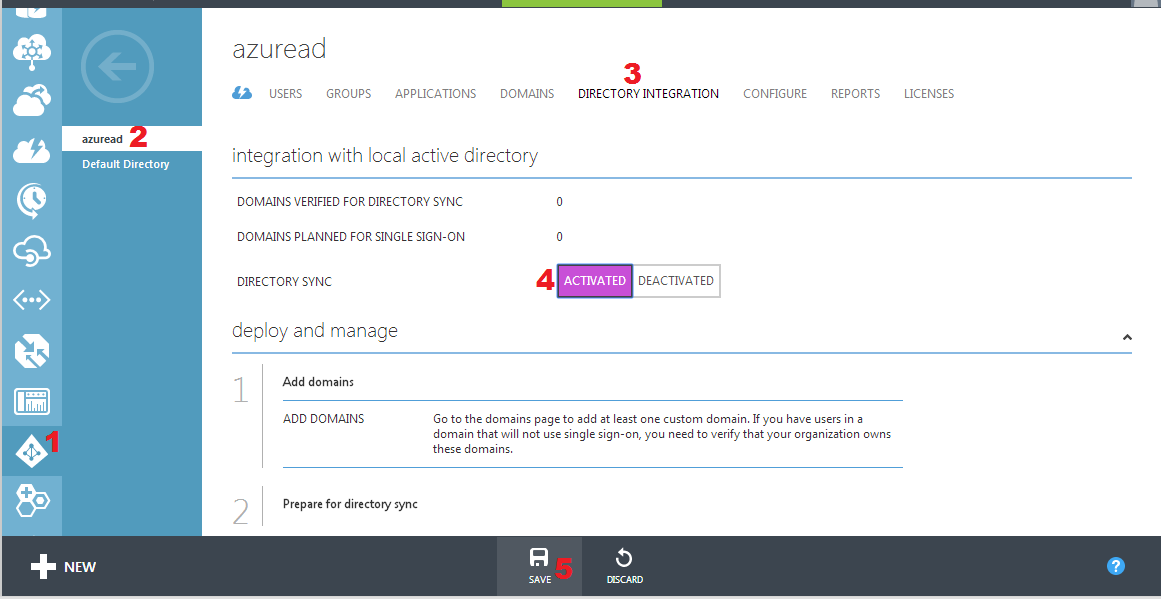
- Now Azure AD Sync has been activated successfully.
Download and Install Azure AD Sync tool in on-premise AD
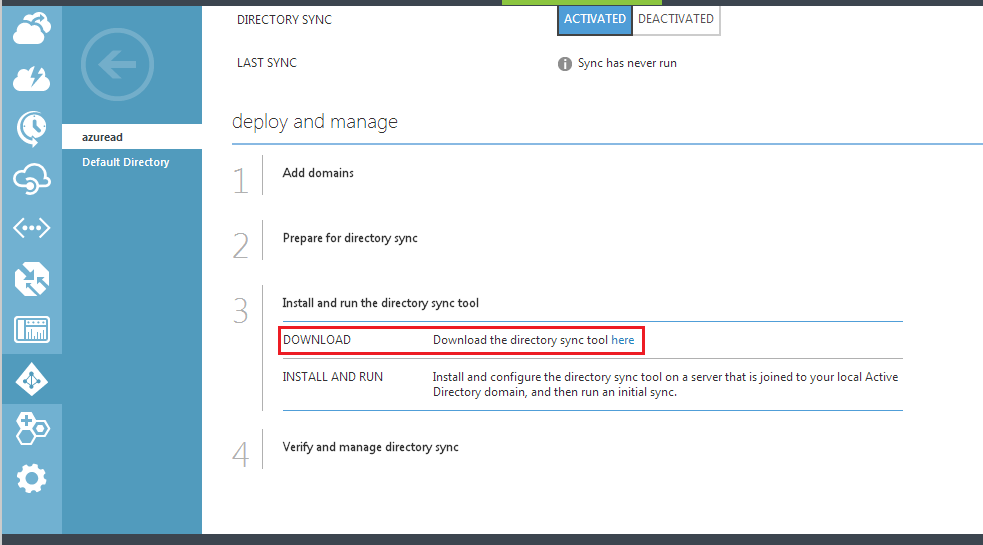
- From your on-premise windows server, login to windows azure
management console. - Now from the left pane select Active Directory, then in the Active
Directory page, click the Azure AD and select the DIRECTORY
INTEGRATION menu. - In the DIRECTORY INTEGRATION menu, scroll to bottom section and
download the Directory Sync tool as shown below,
After downloading the Azure AD Sync tool proceed with the installation
steps as shown below,
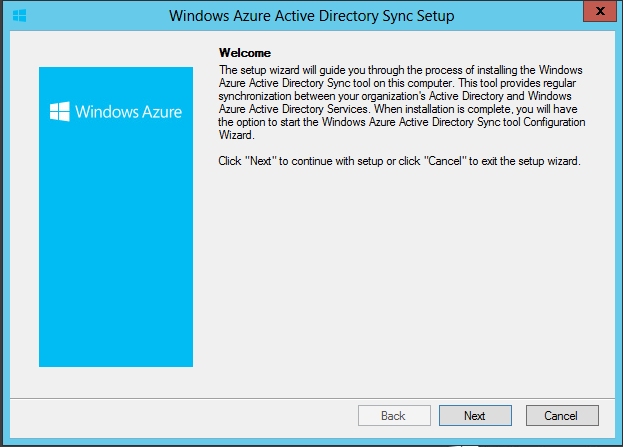
- Welcome page provides detail on Azure Active Directory Sync tool,
click next to proceed.
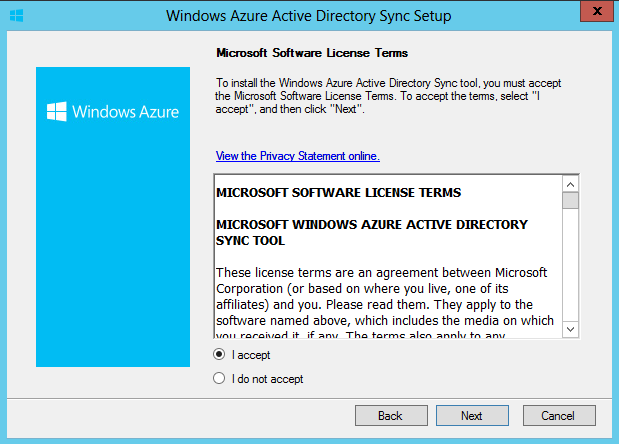
- Accept the license agreement to proceed with installation.
- Select the installation folder for Azure Active Directory Sync tool,
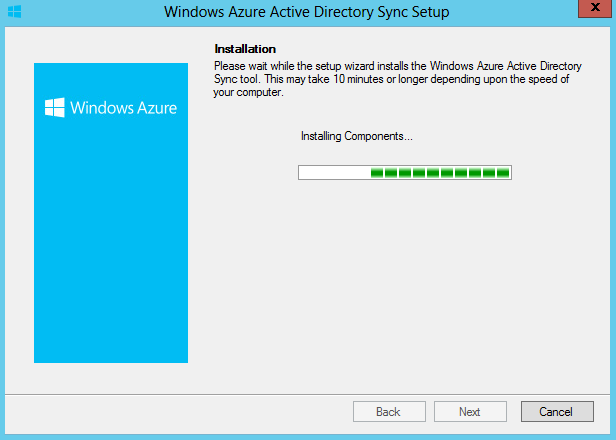
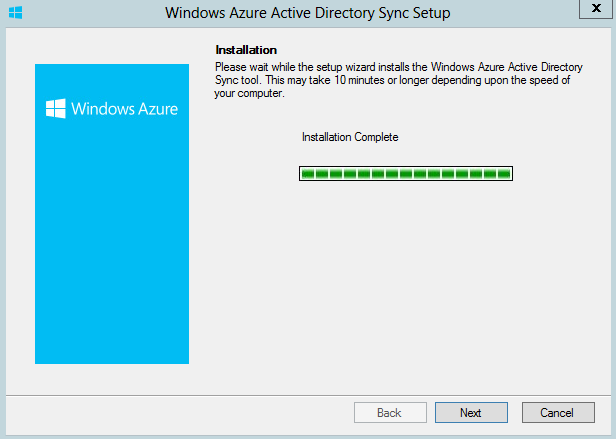
- Now the installation begins.
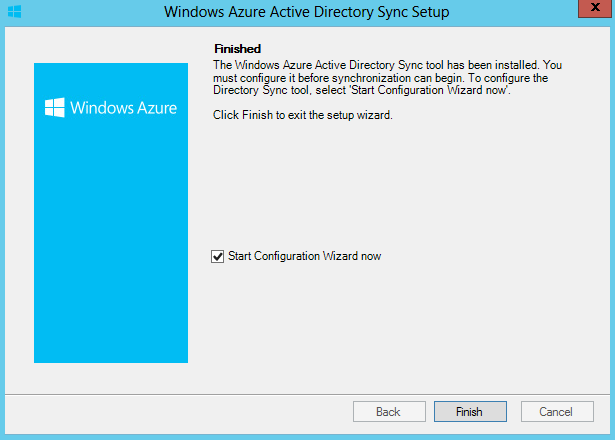
- Now the installation is completed.
- Click Finish to start the configuration wizard.
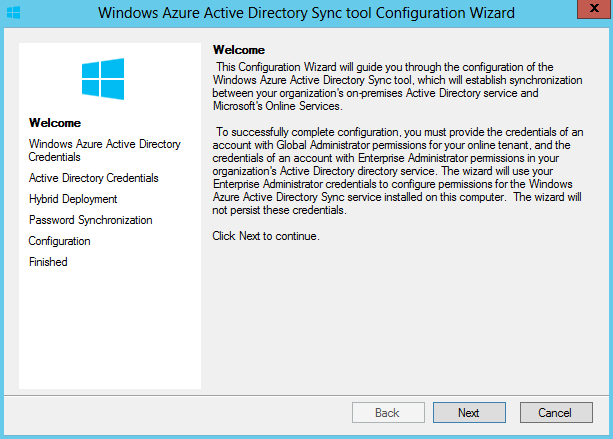
Configure Azure AD Sync tool in on-premise AD
After installing the Azure AD Sync tool proceed with the configuration
steps as shown below,
- Configuring Azure AD Sync tool will establish synchronization
between the on-premise AD and Azure AD.
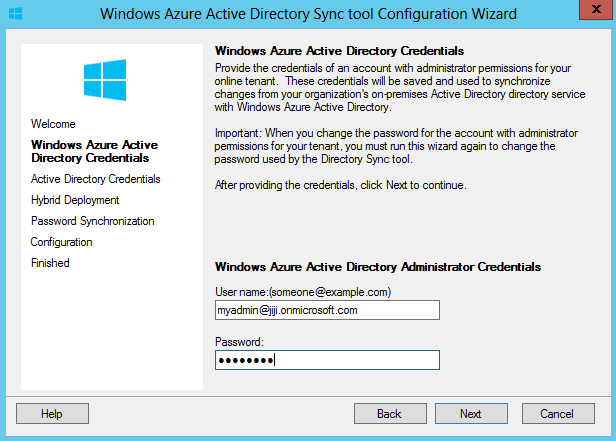
- Provide the credentials of user account with administrator
permissions for Azure AD for allowing the changes from on-premise AD
to synchronize with Azure AD.
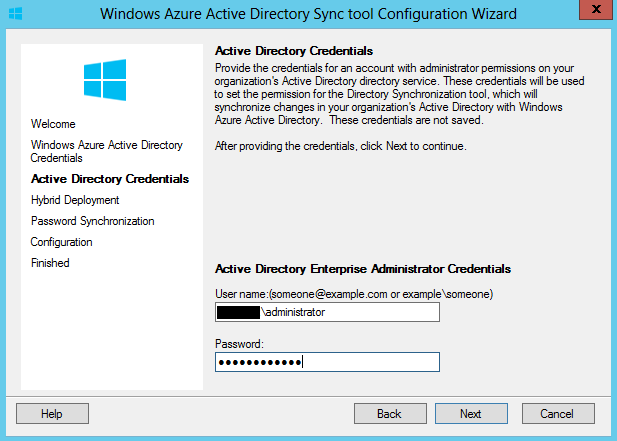
- Now provide the credentials of user account with administrator
permissions in on-premise AD to grant the permission for Azure AD
Sync tool to synchronize the changes in on-premise AD with Azure AD.
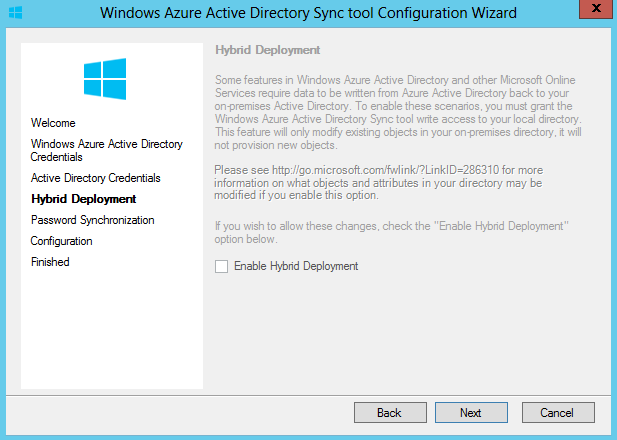
- Enable hybrid deployment allows some Active Directory object
attributes that are modified in Office 365 to be written back to
your local AD. This is a requirement for some Office 365
functionality, such as email. If you don’t have Exchange (Exchange
2010 Sp1 or above) in your local environment, this option will be
greyed out. In my environment, I don’t have Exchange Server so this
option is greyed out.
- Enable Password Sync option to synchronize the password of users in
on-premise AD with Azure AD for single sign-on.

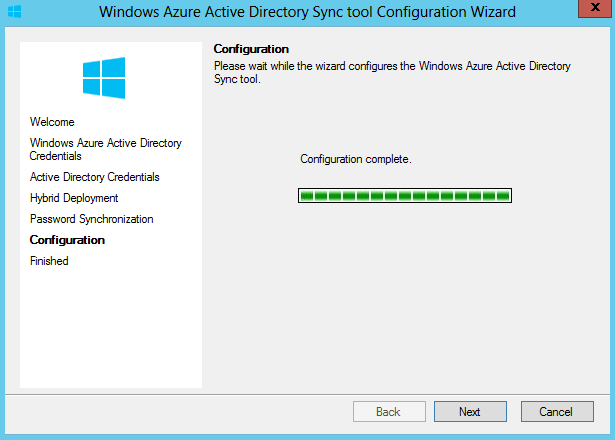
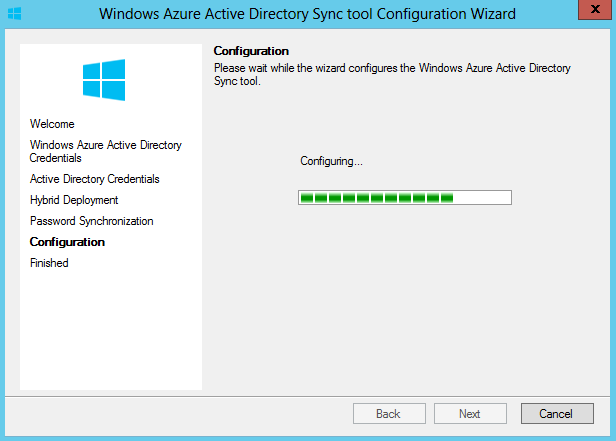
- Now the configuration begins.
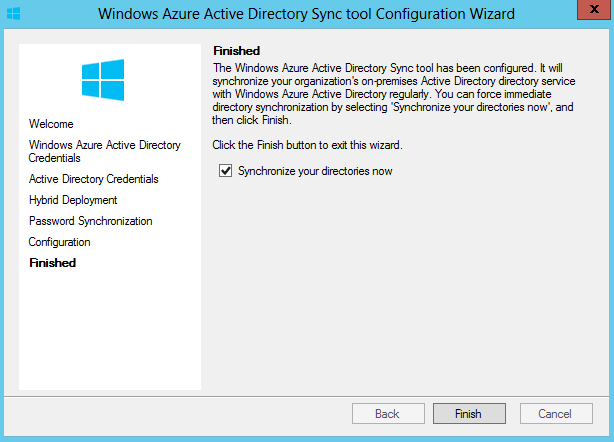
- Now the configuration is completed.
- Now click Finish to initiate the synchronization between on-premise
AD and Azure AD.
Testing Sync between on-premise AD and Azure AD
Now comes the interesting part, as we always feel better to taste (test)
than cook (configure). So let’s taste the dish which we have prepared in
the previous section.
- Now I create a test user account in on-premise AD as shown below,

NOTE: Checkout this
link
for list of attributes that are synced by the Windows Azure Active
Directory Sync tool.
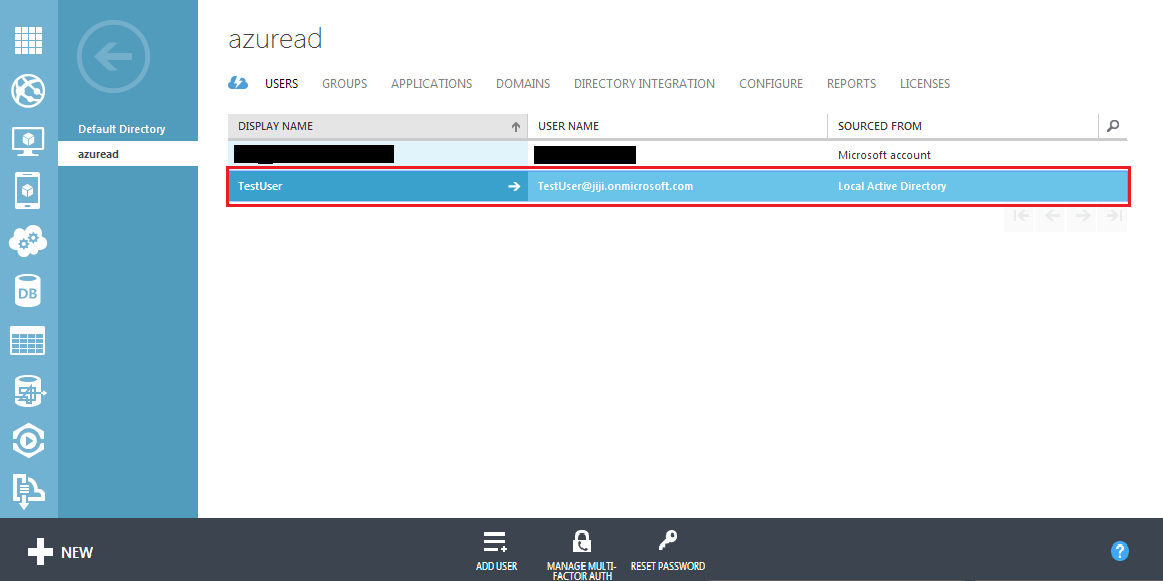
- To confirm the sync between on-premise AD with Azure AD, now I login
to windows azure management console and navigate to Active Directory
> Azure AD > Users. In the Users list, now I confirm that the user
account created in on-premise AD is synchronized with Windows Azure
AD as shown below,
Thus we have synchronized the on-premise AD with Windows Azure AD using
Azure AD Sync tool.