Microsoft introduce a new feature in the planner which is Move task from one plan to another plan within one office365 group or difference Office365 group. Let’s see how to move task:
How to move task?
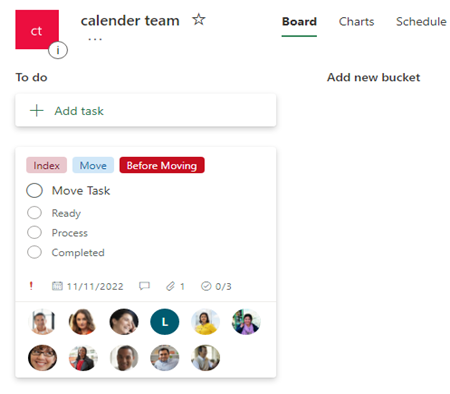
- In Planner, Open task which want you to move.
- In the Opened tasks, click the “More options (…)” in the right corner.
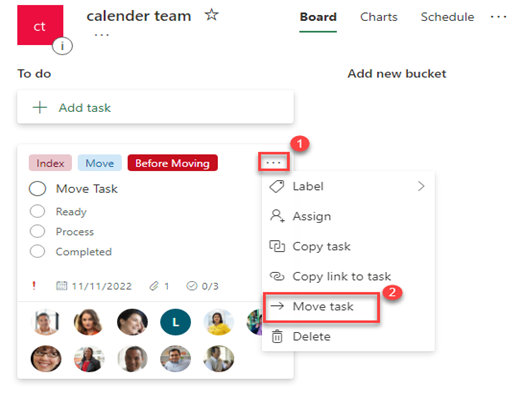
Now select “Move task”.
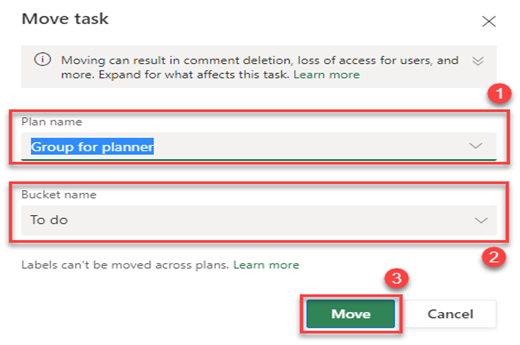
Once you select the “Move task”, the below Pop up will open to choose where the task need to move, select Move button.
- Once the task is Moved “Task Moved” notification will come like below this.

Supported Features:
What does?
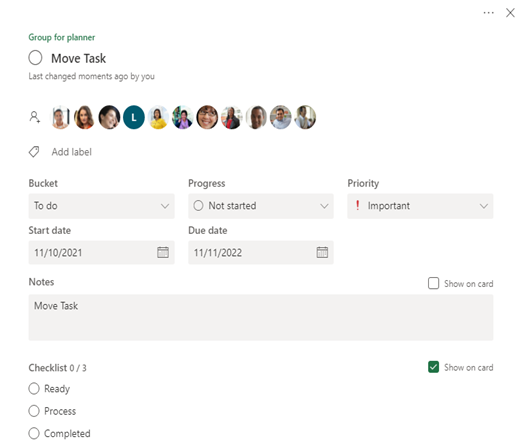
When moving the task from one plan to another plan, it will support the following details.
• Check lists
• Notes
• Progress
• Priority
• Start and due date
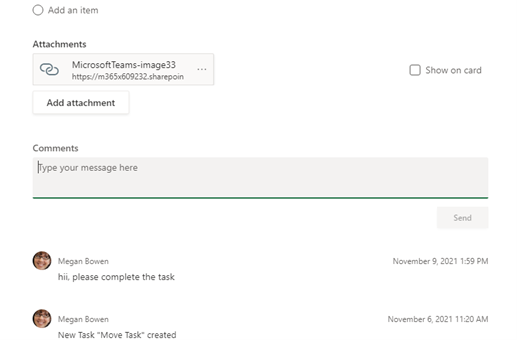
• Attachments: The attachment will get moved, but the SharePoint link will not change, it still navigates to the source team site URL.
• Assignments: If you move the task from one plan to another plan, the Task assign users migrate truly to the target task even though the assigned users is not available in the target plan, but those users not directly added to target plan membership.
What does not?
When moving the task from one plan to another. It will not move the following details:
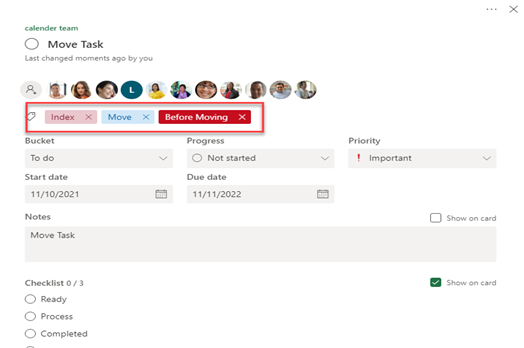
• Labels, since the source labels may be not available in the target plan.
• Comments, because the comments are in the original group mailbox.
Limitation:
• You can’t move multiple tasks at a time.
Conclusion:
Finally, the task is to move from one Office365 group to another as shown below:
- Before Move:
- After Move: