Data loss prevention in Microsoft Teams
Initially, Data Loss Prevention (DLP) is enabled in Exchange email,
SharePoint sites and OneDrive, a few months back Microsoft added data
loss prevention in Microsoft Teams. This prevents inadvertent disclosure
in a Microsoft Team chat and channel messages. For example: when someone
is trying to share sensitive information with the internal/external or
guest in Microsoft Teams, then DLP Policy will delete this sensitive
information, according to how the DLP policy is configured.
How to create a new DLP policy for Microsoft Teams?
To create DLP policies you need a Compliance Administrator role. You can
create a new policy from the Security and Compliance Admin center(
https://protection.office.com) → Data loss prevention→ Policy→ Create a
policy.

To create a new policy, there are some steps to follow
Choose the information to protect
Name your policy
Choose location
Policy settings
- Simple settings
- Advanced settings
Review your settings
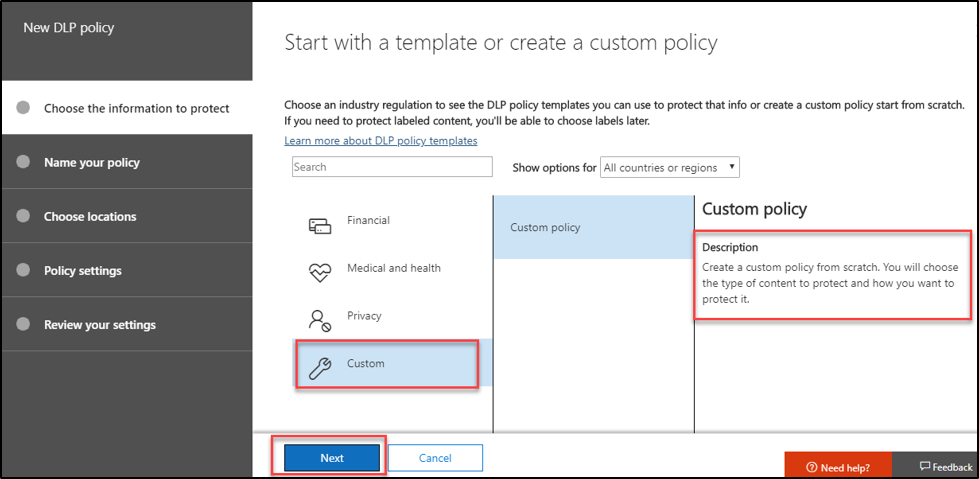
1.) Choose the information to protect:
You can choose the default template, or you can customize your template
to protect the information, here in the below image we are creating a
custom policy.
2.) Name your policy:
Here you can enter the name for your policy.

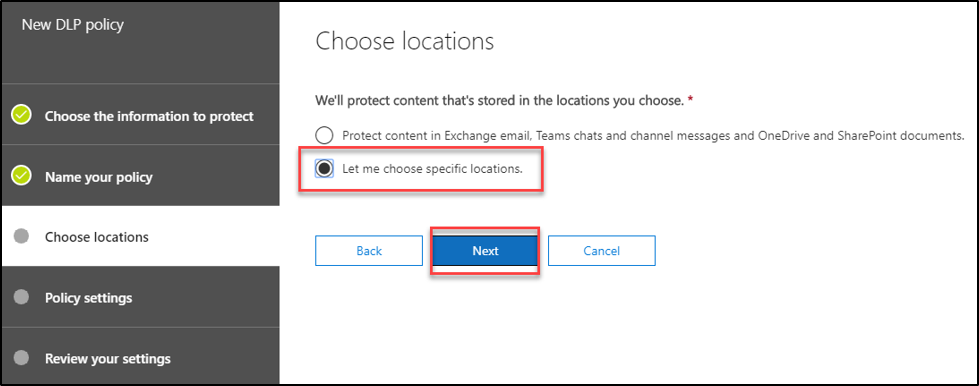
3.) Choose locations:
In this section, you can decide where to protect the content. By
default, it enables all locations (Exchange email, SharePoint sites,
OneDrive account, Teams chat and channel message) or you can choose the
specific location to protect the content.
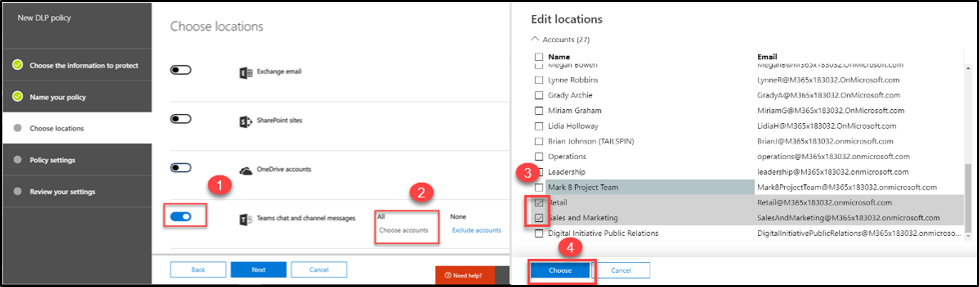
In the below image we have chosen a specific location which is Teams
chat and channel messages. Then choose particular Teams team to protect
the content.
4.) Policy settings:
In this setting, you can select the type of information that you need to
protect, you can choose any of below options
- Simple settings
- Advanced settings
Simple setting:
Simple setting makes easy to create the rule with the following 3 steps.
Step1: Customize the type of content you want to protect
- First, select the type of content that you need to protect.
- And then, you can select when to detect this- content is shared
with, people outside my organization or only with people inside my
organization.
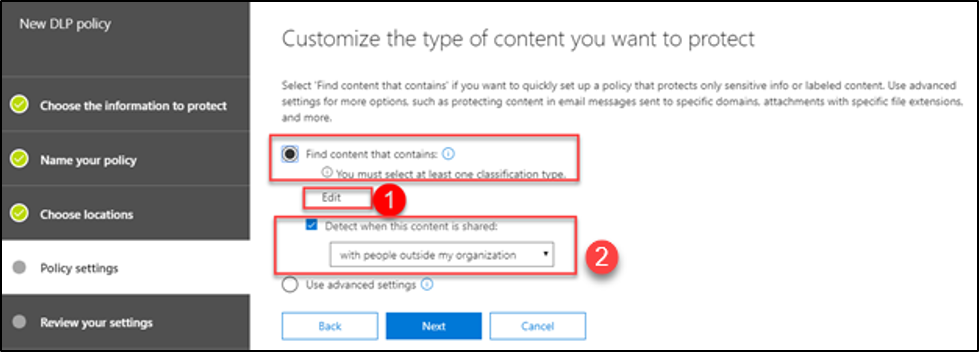
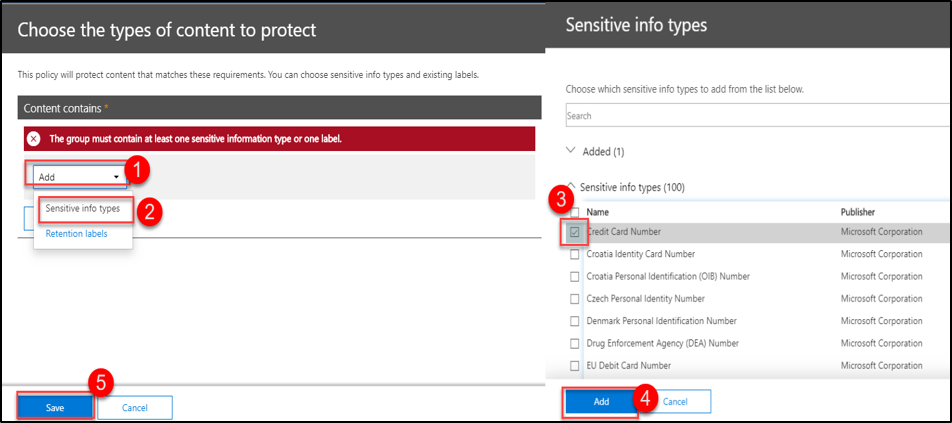
- By clicking Edit you can select the Sensitive info type which you
need to protect.
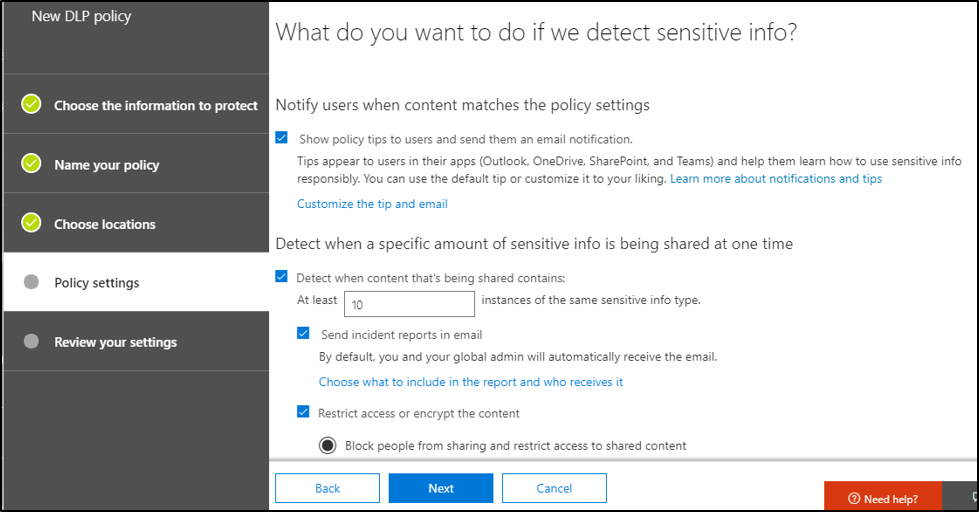
Step 2: What do you want to do if we detect sensitive info?
In this section, define the actions to perform once the sensitive
content is detected. Following options are available.
- Show the policy tip and help educate people about your
organization’s policies. - Send the incident report to the global admin.
- Block the content to be shared or encrypt the shared content.
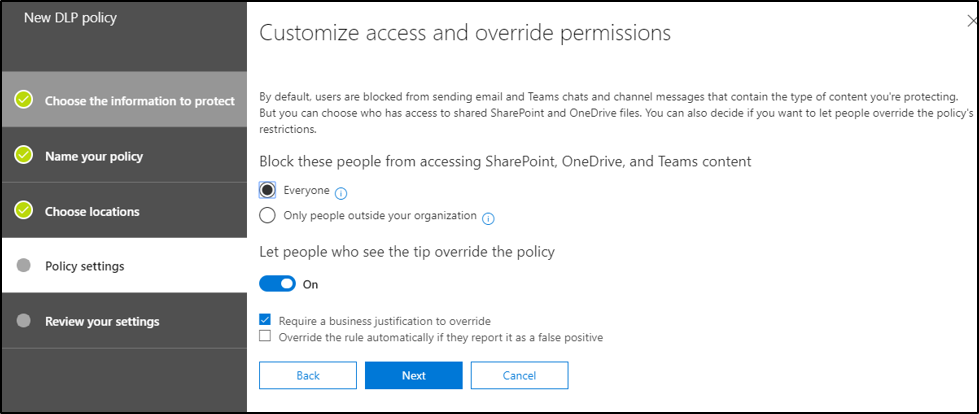
Step3: Customize access and override permission
You can allow the user to override the policy with business
justification.
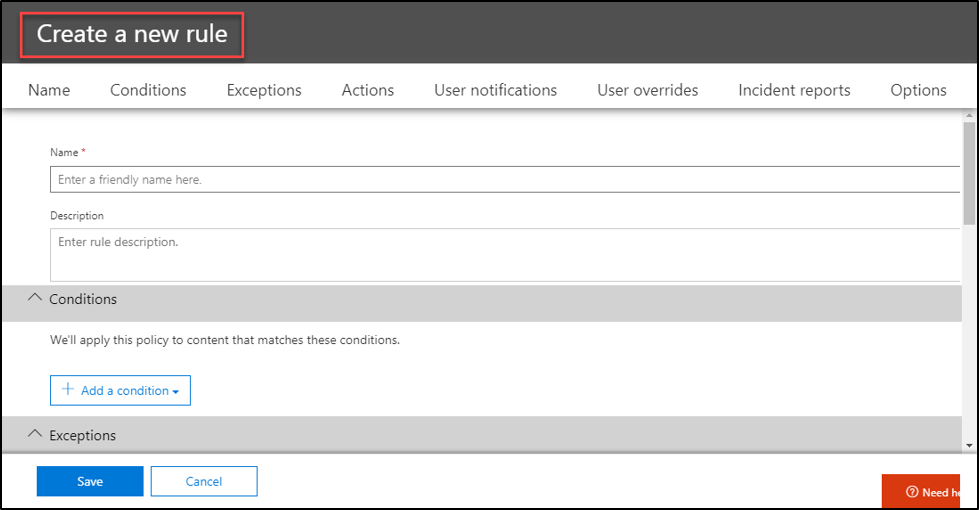
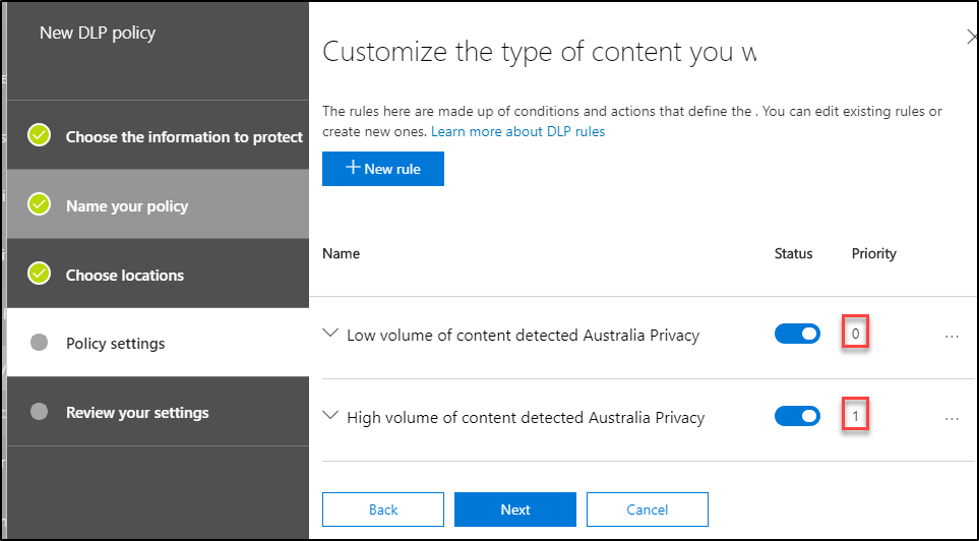
Advanced setting:
In advanced setting option, you have complete control over every setting
within a single page view. When compared to simple setting, you can add
multiple rules for your policy, and you can add exception/priority order
for your rule. If the content match multiple rule, then it takes the
most restrictive action.
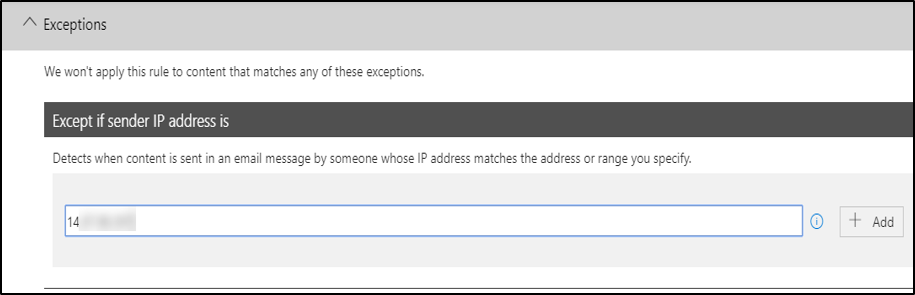
Exception:
Here you can add an exception for this rule which exclude recipient
domain, IP address, content is shared with, Recipient address contains
words, Recipient address matches pattern, etc.…
In our example, we use Except if the sender IP address is.
Priority:
If you have multiple rules you can decide which rule to process first,
by setting the priority order
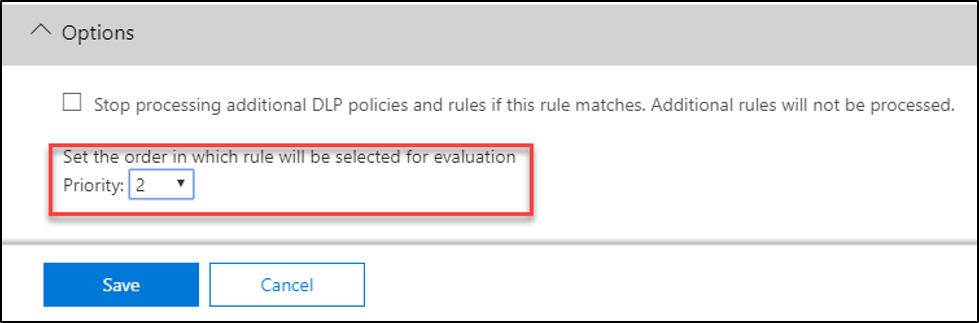
In the below image we have 2 rules, so we are using priority order.
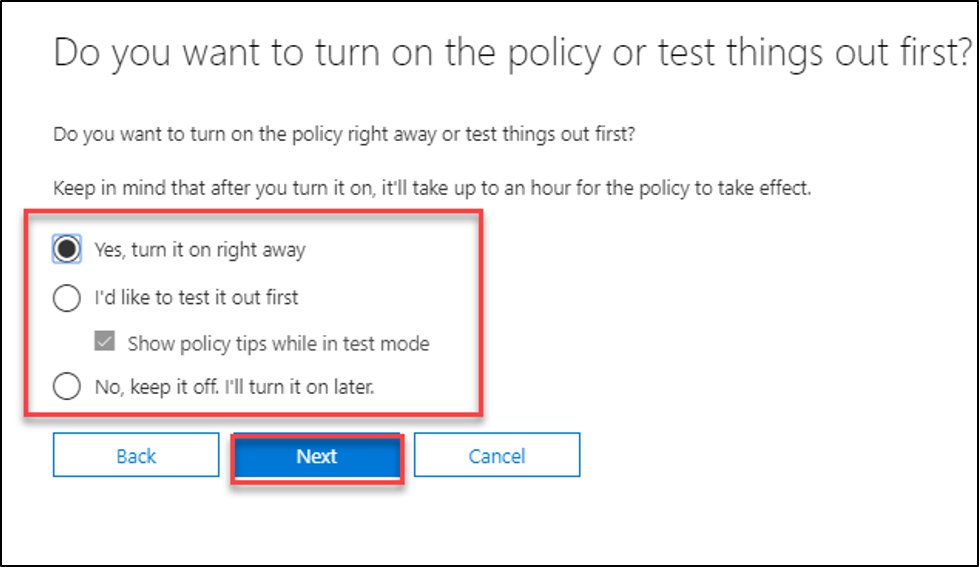
Turn on the policy:
After completing simple or advanced settings, you can choose the
following option when policy will enable.
- Turn on this policy right now
- Test it out first
- Turn it on later.
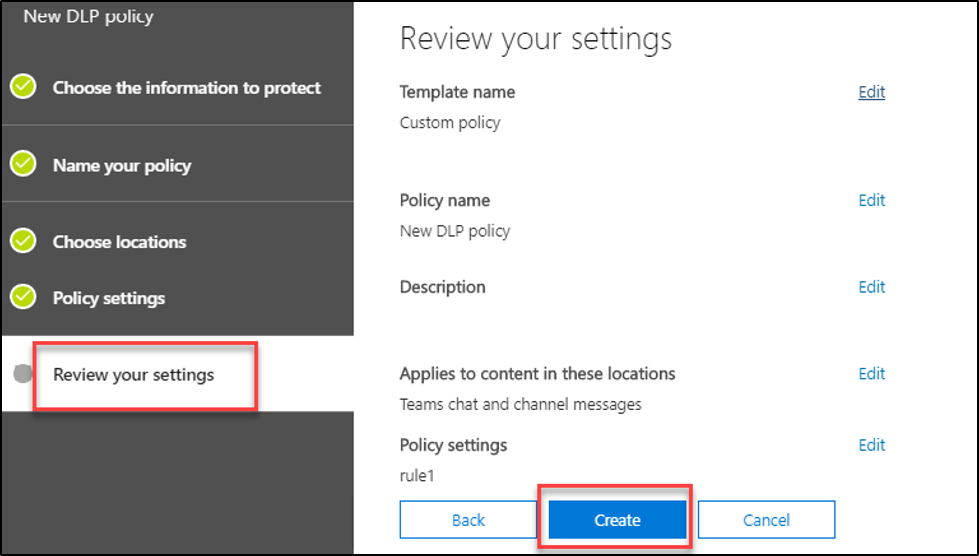
5.) Review your settings:
Here you can review your settings and then click create.
User experience:
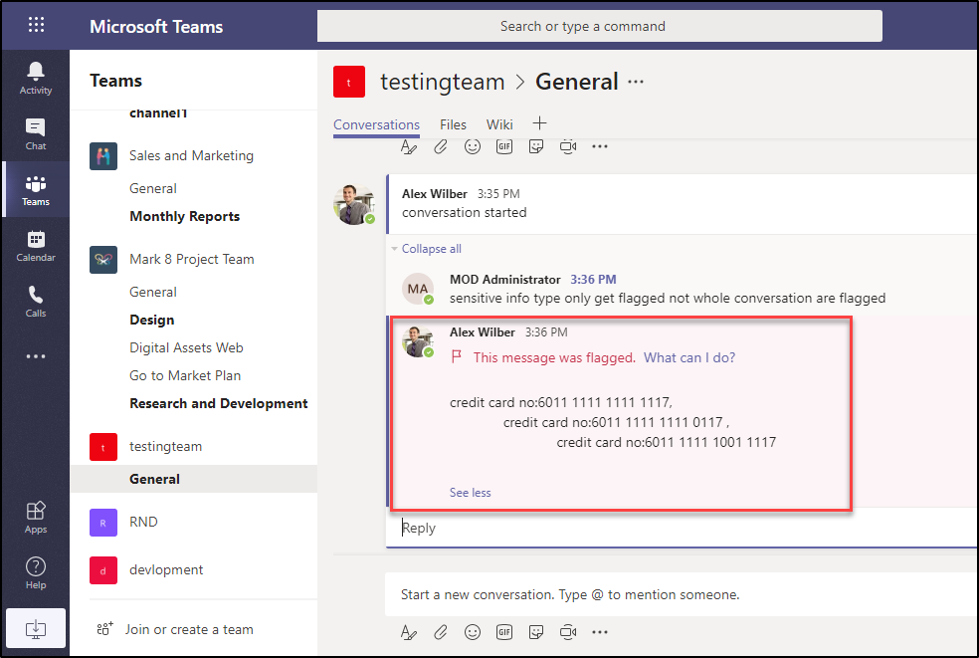
Microsoft Teams channel messages in sender side:
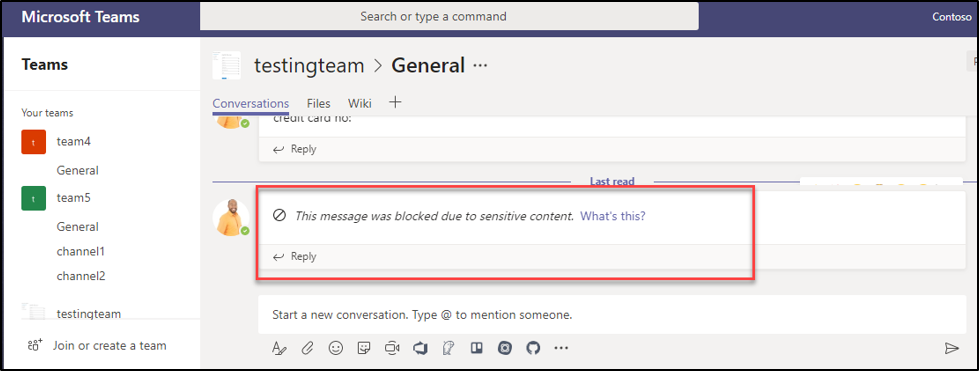
Only the particular sensitive info type messages get flagged/blocked,
not the whole conversation.
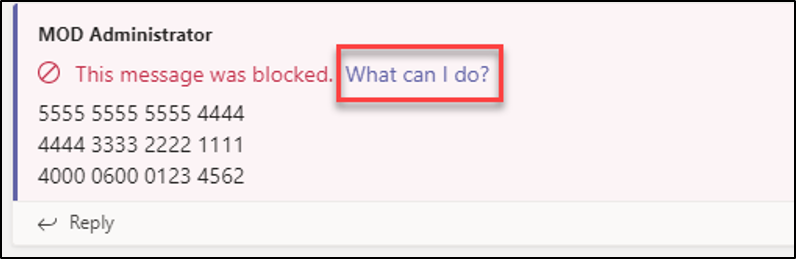
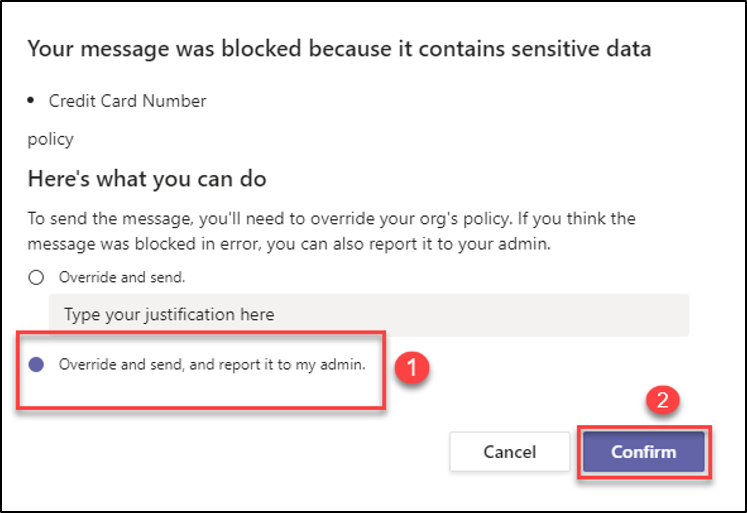
User override:
Override the rule automatically if they report it as a false positive
When users click the (What can I do?) link, they can see the policy tip
and can override policy.
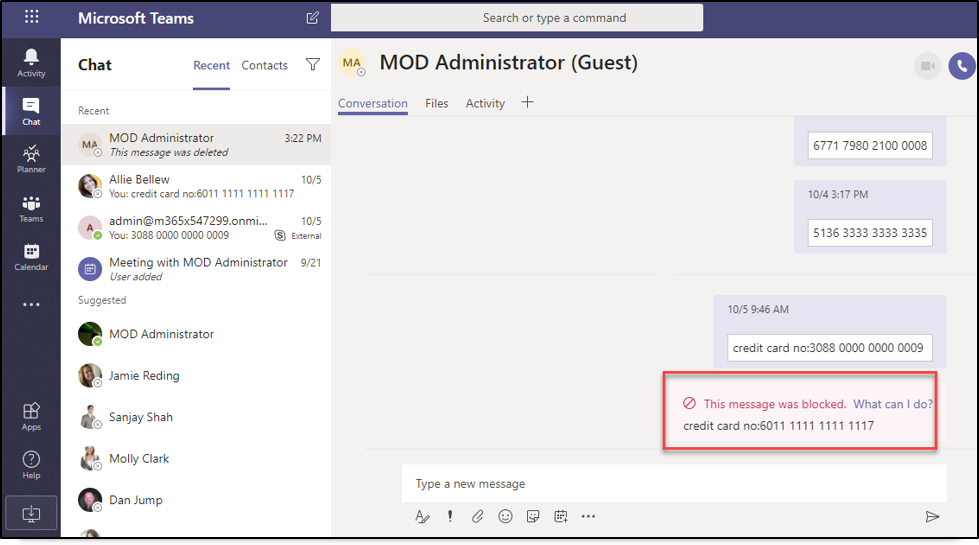
To send the sensitive information, you need to override your
organization policy,
If you select override and send, you need to type justification,
then the message is overridden, and the message will send without
restriction.
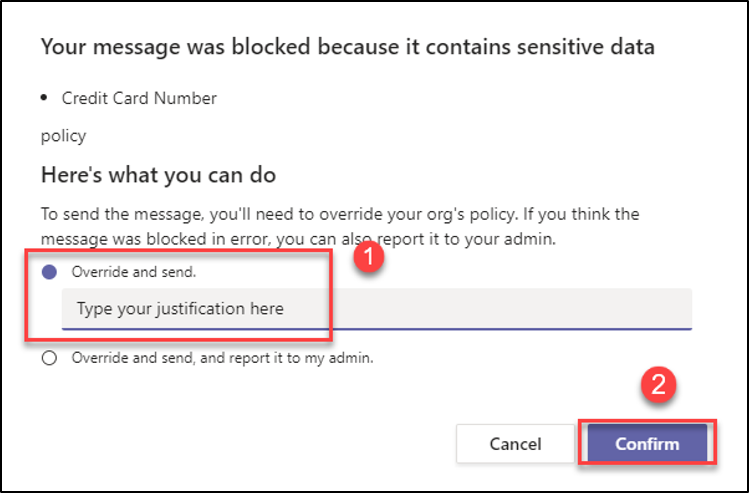
If you select override and send, and report it to my admin, then the
message gets override and send without restriction, additionally it
reports it to the admin.
Microsoft Teams Chat messages sender side:
Microsoft Teams channel message Receiver side:
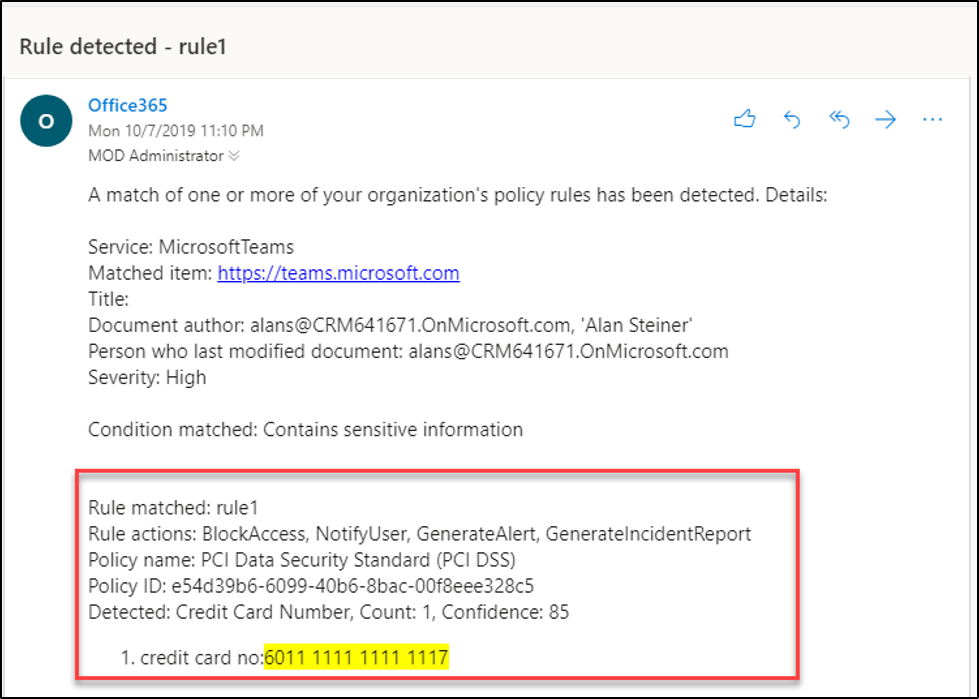
Report:
Admin and the people you added in rule, will receive mail if the content
matched the rule.