
Based on the repeated requests from customers for connecting on premise
data like SharePoint lists or SQL rows to Office 365 applications
(PowerApps, Microsoft Flow, Logic Apps, Power BI), Microsoft has
introduced on-premises data gateway. The on-premises data gateway acts
as a bridge in providing a quick and secure connection between on
premise data and Office 365 apps. Currently supported on premise
applications are SharePoint 2016 and SQL 2016 (Both Enterprise and
Express editions). Moreover, you can use a single gateway to connect
multiple on premise applications to multiple Office 365 applications at
the same time and it is dependent on the account with which you sign in,
which can be either your work or school, or personal Microsoft account.
This is a two-part blog series consisting of followings tasks,
- Deployment of On-premises data gateway
- Connect on premise data to Office 365 Application
In this blog, we will walk you through the steps involved in
“On-premises data gateway” deployment.
Steps to be performed before installation
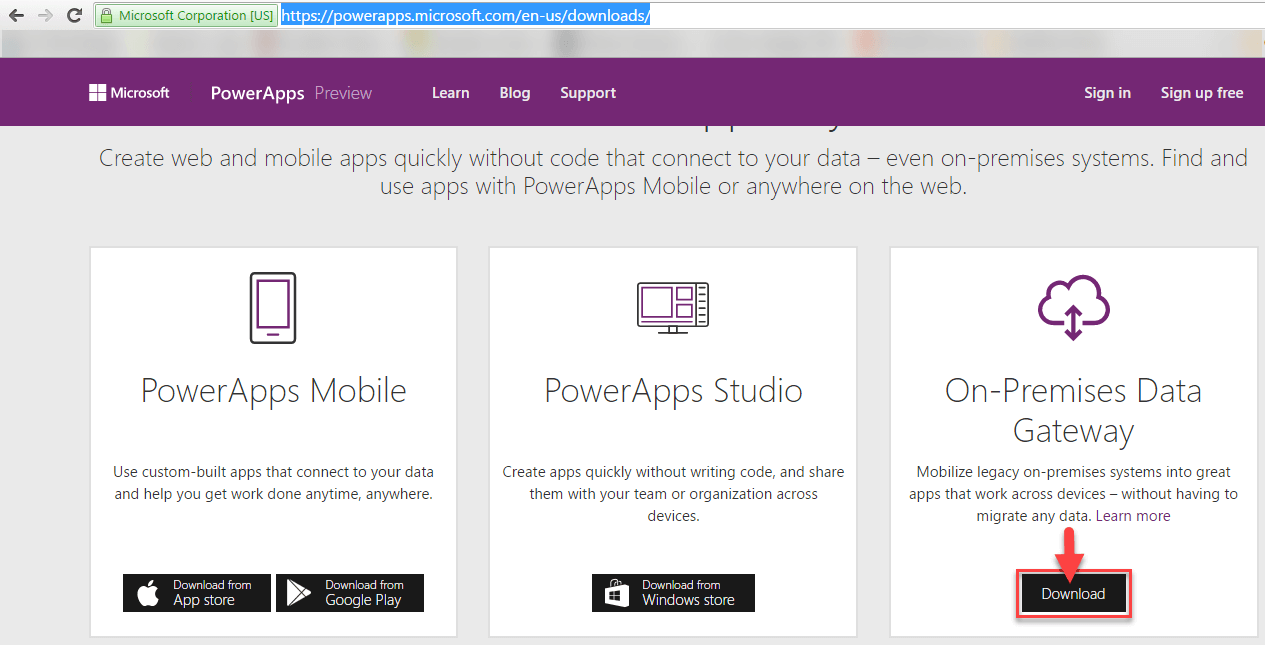
- Download “On-premises data gateway” setup by navigating to Url –
https://powerapps.microsoft.com/en-us/downloads/
and download the “On-premises data gateway” setup as shown in the
below screenshot.
- “On-premises data gateway” need to be installed in an on premise
computer with seamless internet connectivity and satisfying
following prerequisites,
Hardware Requirements:
Hardware Requirements Value
CPU 8 Cores
RAM 8 GB
Software Requirements:
Software Requirements Value
.NET Framework Version – 4.5
Operating System Windows 7 / Windows Server 2008 R2, or later
Deployment of On-premises data gateway:
The deployment of on-premises data gateway is very simple, which
includes gateway setup installation and gateway registration. Following
are the steps involved in on-premises data gateway deployment,
Note: In each on premise machine, you can deploy only a single
gateway.
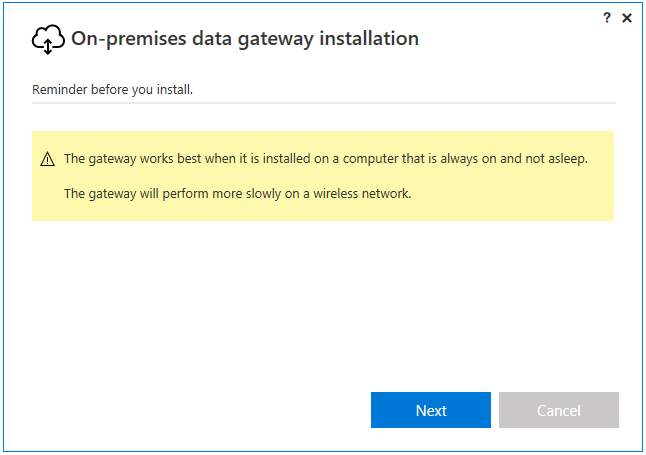
- After completing the prerequisites, just run the downloaded gateway
setup – “GatewayInstall.exe”.
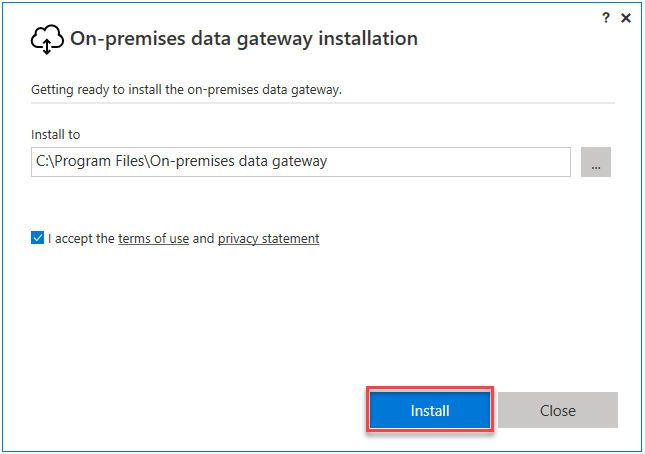
- Read and accept, terms of use and privacy statement. Select the
installation path and click Install..
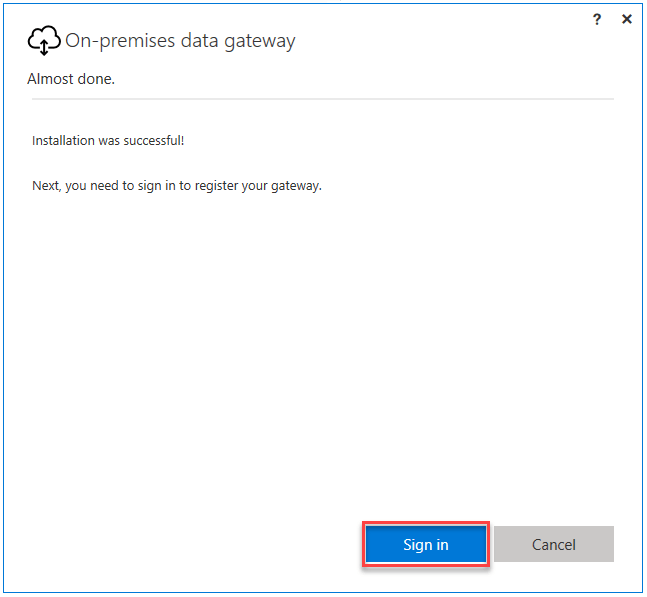
- After clicking Install, on-premises data gateway installation
gets initiated.

- Once installation is completed, click Sign in to register your
gateway.
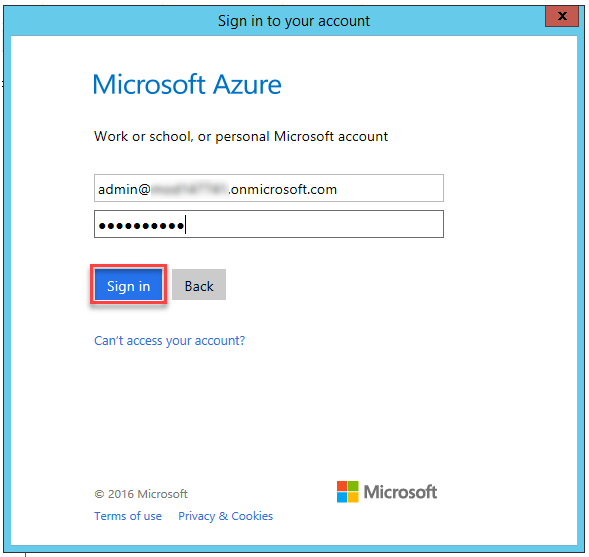
- In the resulting window, provide the sign in credentials (work or
school, or personal Microsoft account) and click Sign in to
proceed with registering your gateway.
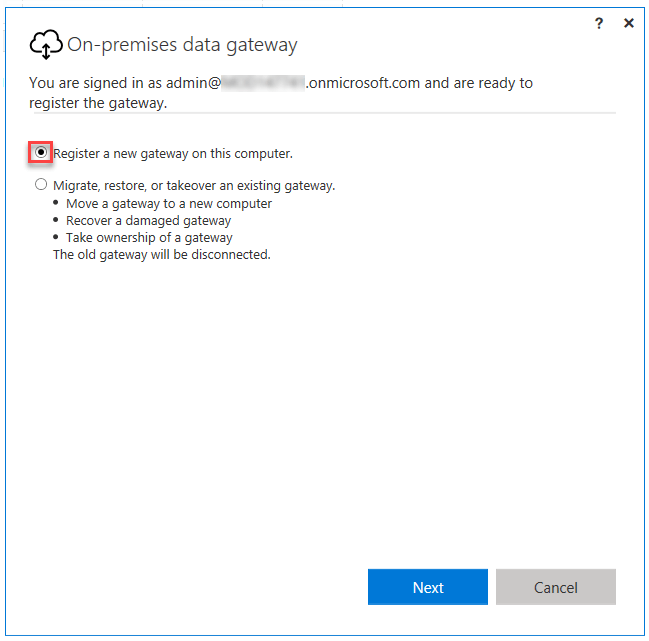
- After sign in, now you are ready to register the gateway. Select the
option Register a new gateway on this computer., as highlighted
in the below screenshot.
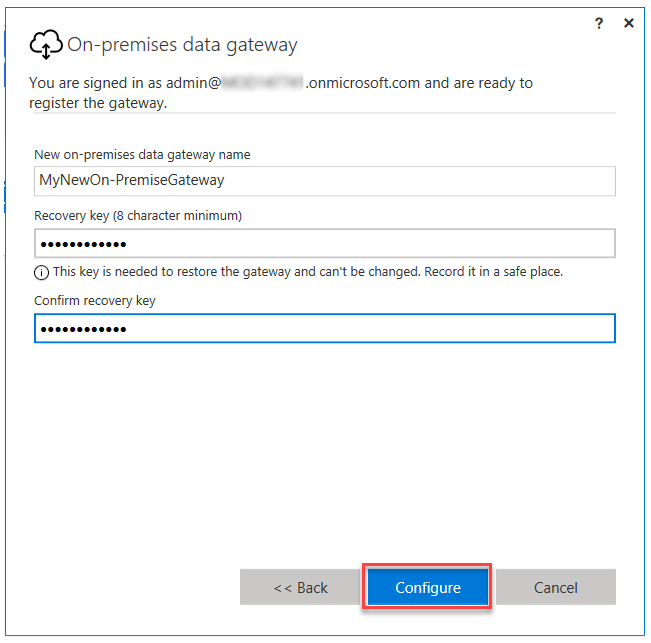
- Provide name, Recovery key and click Configure to complete the
gateway registration.
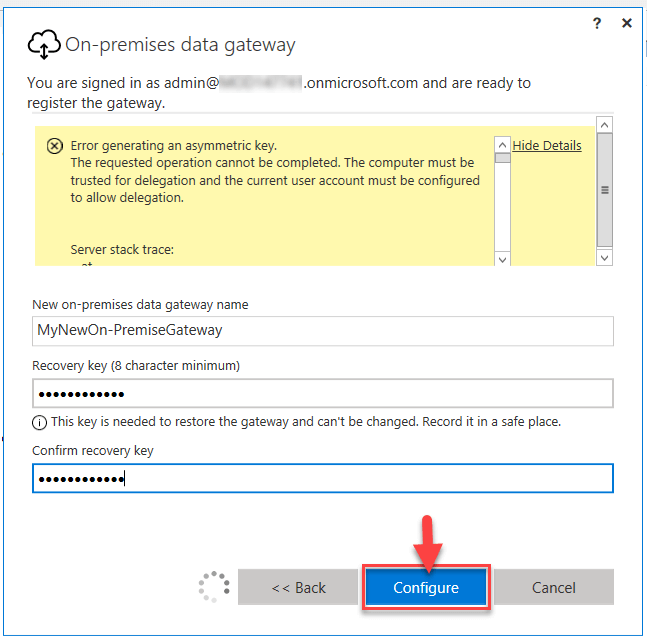
NOTE: If you are trying to deploy the gateway in a domain
controller, then you will receive the following error
Error
“Error generating an asymmetric key.
The requested operation cannot be completed. The computer must be
trusted for delegation and the current user account must be configured
to allow delegation.”
Workaround:
Open Services console, select On-premises data gateway service
change the service account .from NT SERVICEPBIEgwService to
Local System, as highlighted in the below screenshot and restart
the service.

Proceed with gateway registration:
Now click Configure again to proceed with gateway registration.
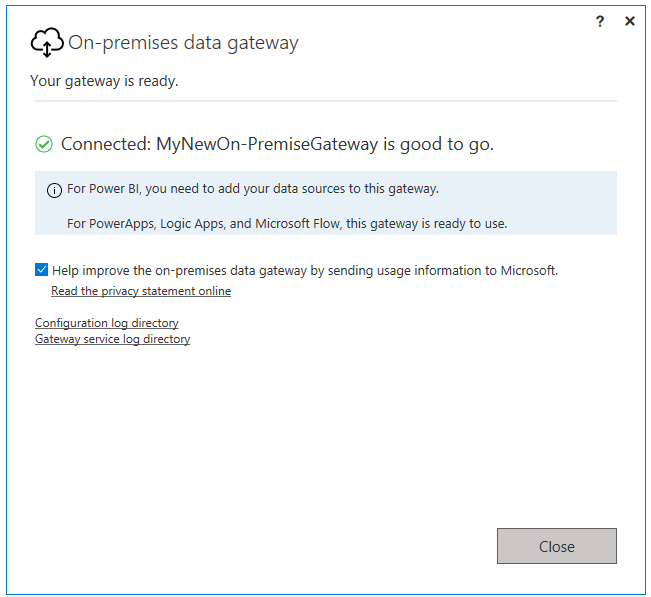
- Finally “On-premises data gateway” deployment is completed.
This concludes the PART1 (Deployment of On-premises data gateway) of our
two-part blog series – Connect on premise data to Office 365 using
“On-premises data gateway”. In the next
part, we
will walk you through the steps involved in connecting on premise data
to Office 365 Applications using On-premises data gateway.