Office 365 video is an massive hit service in Office 365 eco system in
terms of its usage and the features. Since its inception, it was used by
many schools and large enterprises to organize and present their video
repository.
You can visit this blog for FAQs about Office 365 Video – Getting
started with Office 365
Video
Office 365 video works good with internal users and now the question
demanded by users is the ability to share their videos with external
users. External users are noting but the users who does not have your
organization ID to access your Office 365 services. As this became a
video portal for many Office 365 users they don’t want to use other
services such as You Tube or Vimeo to share their videos with external
users.
Microsoft recently announced that they have started working on external
sharing capability for Office 365 video at channel level which was
requested for a long time. This external sharing works as similar to
sharing documents from OneDrive / SharePoint to External users.
Below is the tentative flow of how it works as announced by MSFT
- ** IT Admin would need to enable External Sharing on SPO.
- ** If the above are done, then channel admin can add individual
users by email address as channel owner, editor, viewer. - ** The external user will get an email (just like the one for file
sharing on SPO/ODB). - ** The external user then logs in from the email with their
Microsoft Account or their Org ID (O365 account) . The external user
will get added just like any other external user of SPO/ODB.
As an workaround to share videos with external users, you can use Sway.
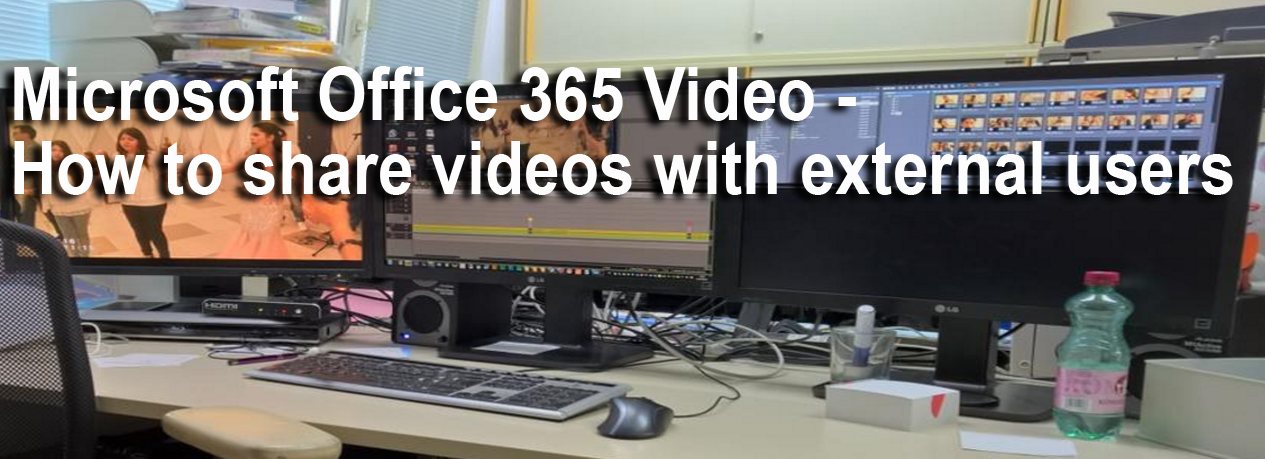
Share videos to external users using Sway
Sway is the great presentation service which is an alternate to
PowerPoint. Using Sway you can easily upload videos to it and share it
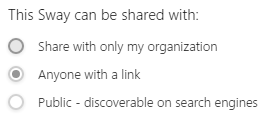
with the external users. You are presented with the following options
for sharing
Steps to upload and share videos in Sway.
Step 1
Click on create new Sway from https://sway.com/my
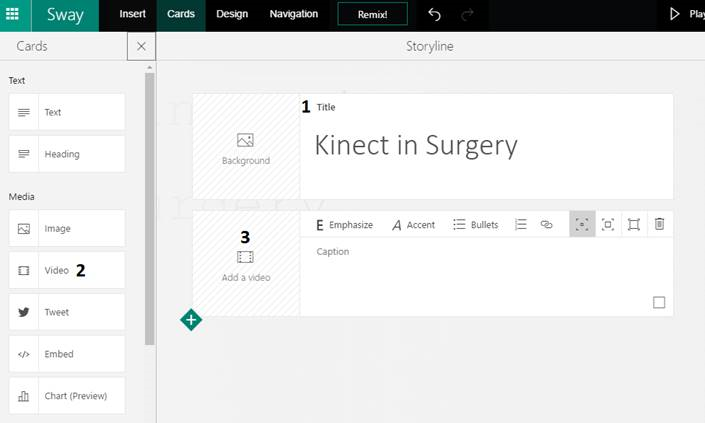
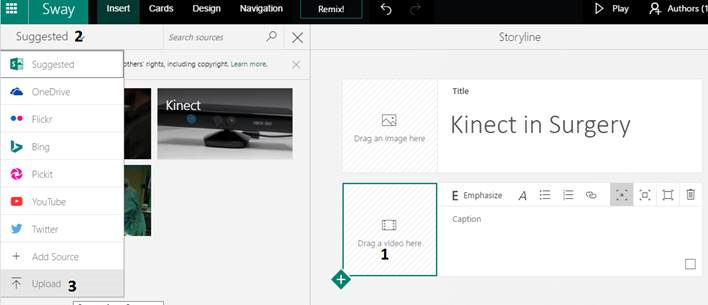
Step 2
Enter your title for the Sway and click ‘Video’ under Media from left
pane. It will add a new video card. Now click on ‘Add a video’.
Step 3
Now from the left pane dropdown select ‘upload’ and browse for your
video.
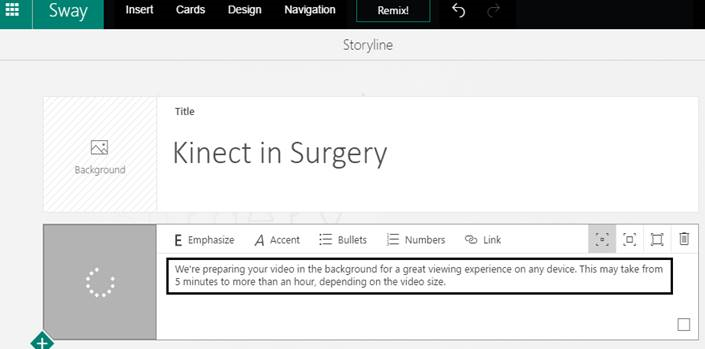
Step 4
Once you have selected the video the service will upload it and the
video will be processed in Azure Media services to enable compatibility
view for any devices.
Step 5
Once done you can able to Preview it and do necessary design changes
from ‘Design’ and ‘Navigation’ tab.
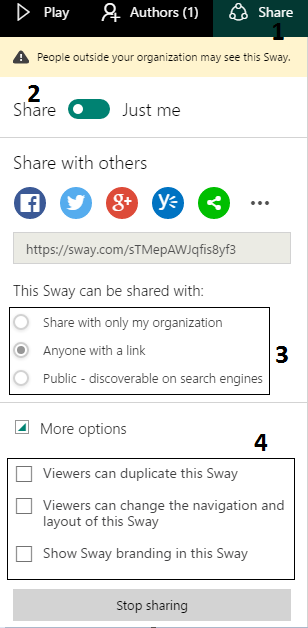
Step 6
Now click on Share and follow the steps as mentioned in below
screenshot.